

Try this easy-to-follow guide to do silk press at home and achieve the perfect silky and bouncy straight hair every time!
Let me start with this: I love my curly hair. But every now and then, I crave that silky, bouncy, effortlessly flowy straight hair, the kind you see in shampoo commercials.
I used to visit salons for a Silk Press, but each session was costly, and let’s be honest, I’m on a budget lately. So last weekend, I took the plunge: I did a Silk Press at home. Here’s exactly what I used, what went hilariously wrong, what turned out amazing, and why I’ll definitely be doing it again, just with a few tweaks 😉
What Is Silk Press? (And Why It’s Worth It)
Silk Press is a method of straightening curly or wavy hair using heat tools without harsh chemicals involved.
The goal?
Straight, smooth hair with body, shine, and bounce; minus the limp, flat-ironed look.
Unlike traditional straightening methods, Silk Press keeps the health of your hair intact. With the right technique and products, you can have straight hair for up to 2-3 weeks without permanent damage.
My Budget-Friendly Silk Press Kit
I didn’t have salon equipment, but here’s what I used (and you can too!):
- Clarifying Shampoo – to reset my scalp
- Hydrating Shampoo – to add moisture
- Deep Conditioning Mask – for softness
- Thermal Steam Cap – surprisingly affordable online
- Microfiber Towel – reduces frizz
- Leave-in Conditioner
- Heat Protectant
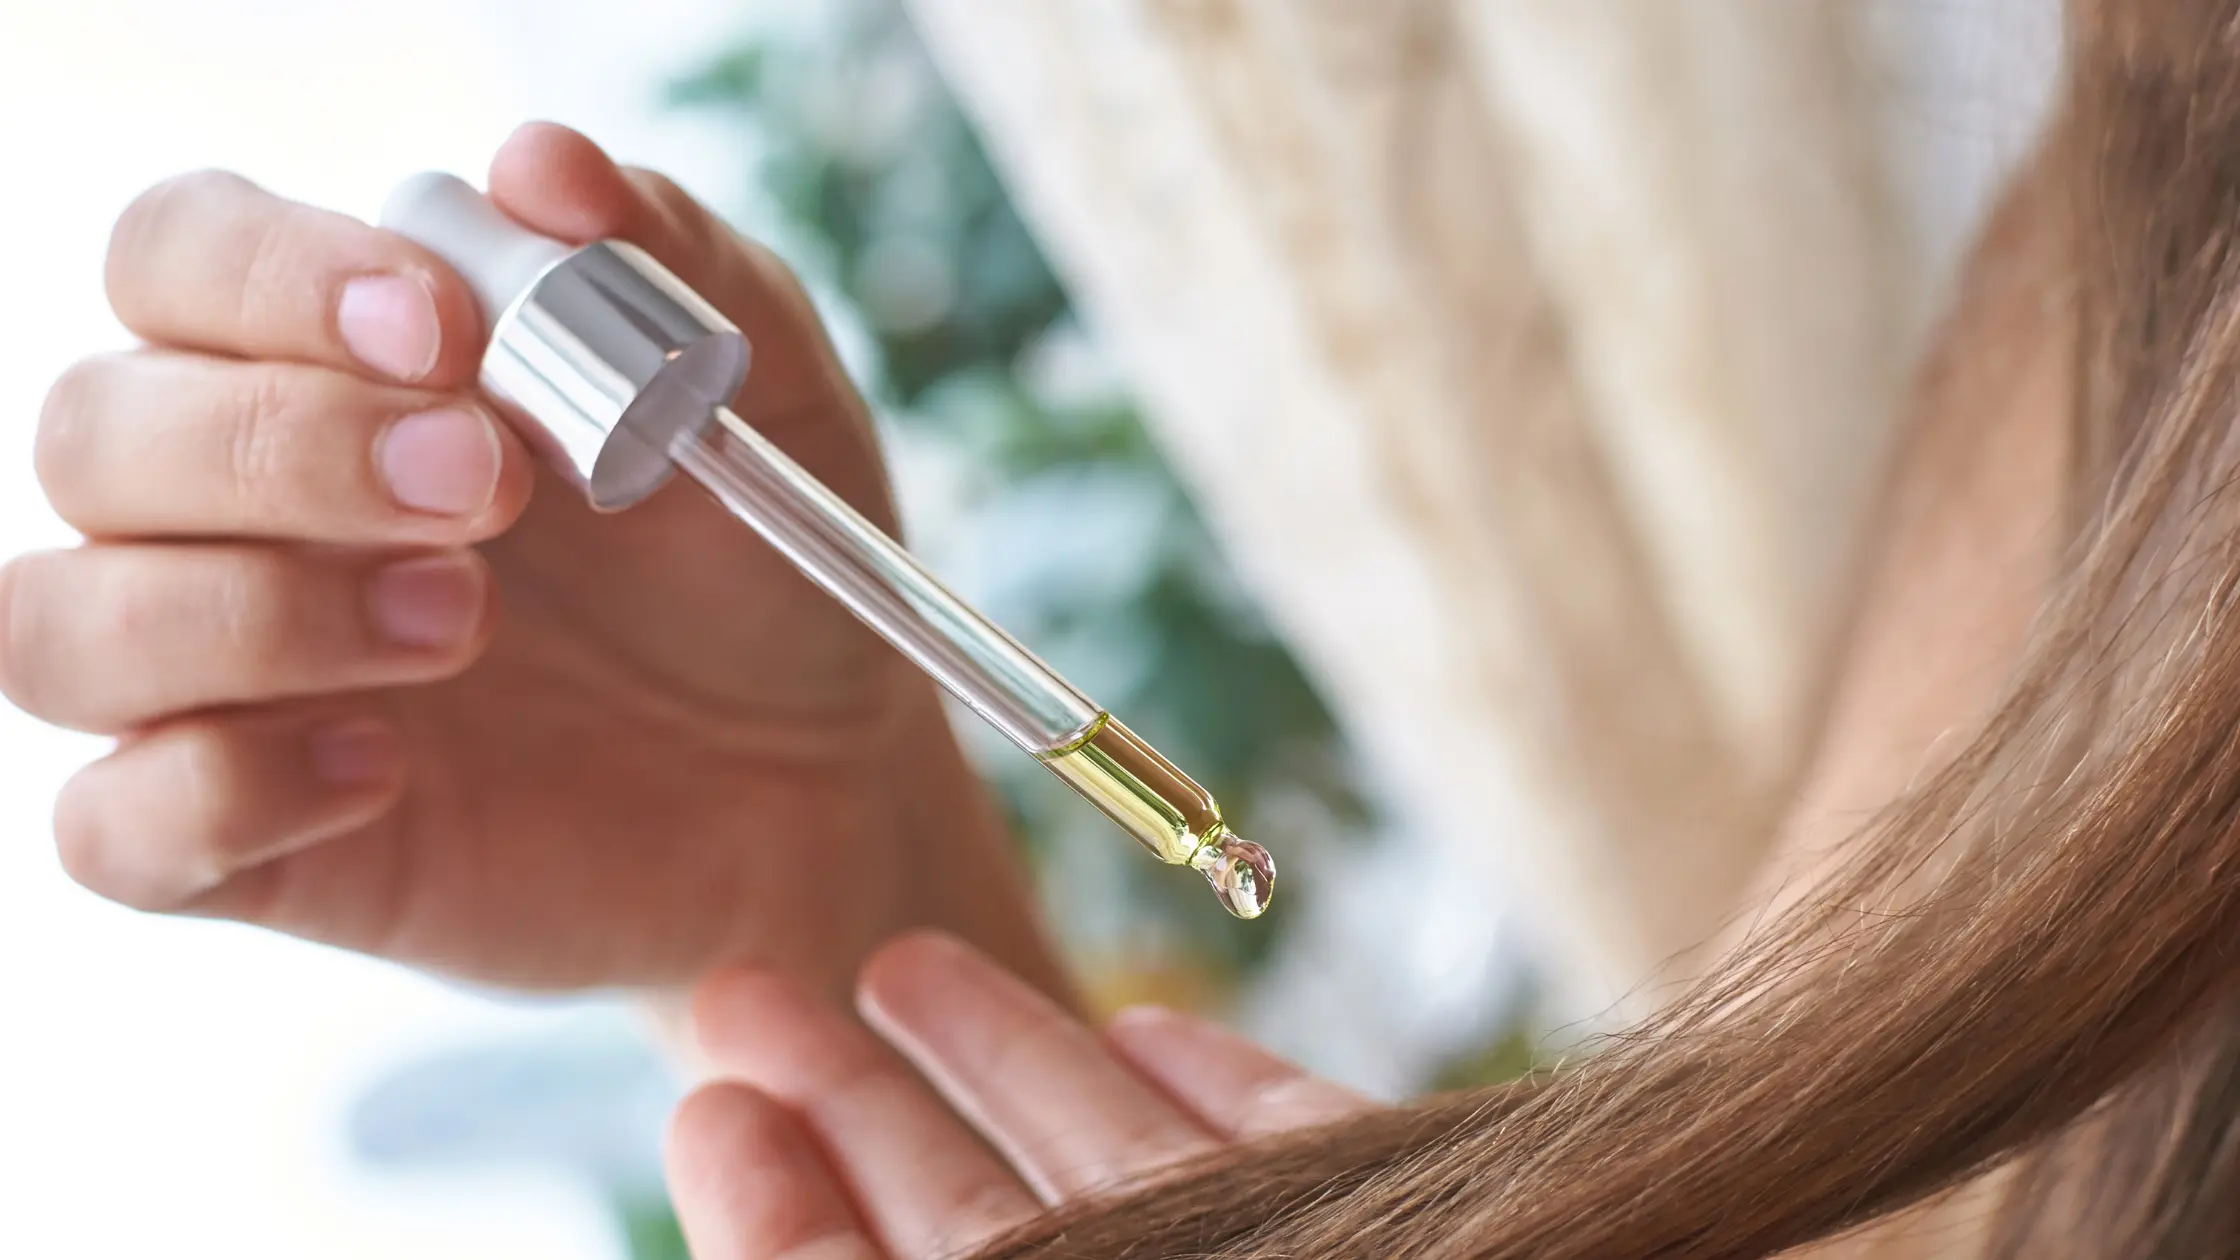
- Hydrating Mist/Serum
- Blow Dryer with Nozzle Attachment
- Flat Iron with Adjustable Heat
- Boar Bristle Brush
Step-by-Step: My At-Home Silk Press Routine
1. Clarify First
I used a clarifying shampoo to prepare my hair for the treatment. This helped me remove any extra sebum or product build-up from my hair strands which in turn would help my silk press come out perfect and last longer.
2. Hydrate & Deep Condition
I followed up with a rich hydrating shampoo and then slathered on my deep conditioning mask. Popped on the thermal cap for 5-7 minutes, this part felt like a spa day. The better hydrated hair, the better elasticity for perfect results.
What I’d do differently: Next time, I’ll leave the mask on longer under the cap for extra slip.
3. Rinse with Cold Water
Yep, it was chilly, but it locked in moisture like magic. My hair already felt softer than usual.
4. Towel Dry with Microfiber
This step really reduced frizz. I used to underestimate this towel, but now I’m a believer.
5. Blow Drying Time
I applied leave-in conditioner and heat protectant, then blow-dried section by section using a boar bristle brush. My arms hurt. My hair started looking straight-ish and fluffy.
6. Flat Iron Like a Pro (Or Try To)
I applied a little serum and started flat ironing tiny sections. Patience was key. The smaller the section, the sleeker the result.
What went wrong: I rushed through some thicker sections. They ended up looking more “puffy” than pressed. Lesson learned.
7. Finishing Touch
A mist of non-alcoholic spray and boom — my hair looked like it belonged in a L’Oréal ad.
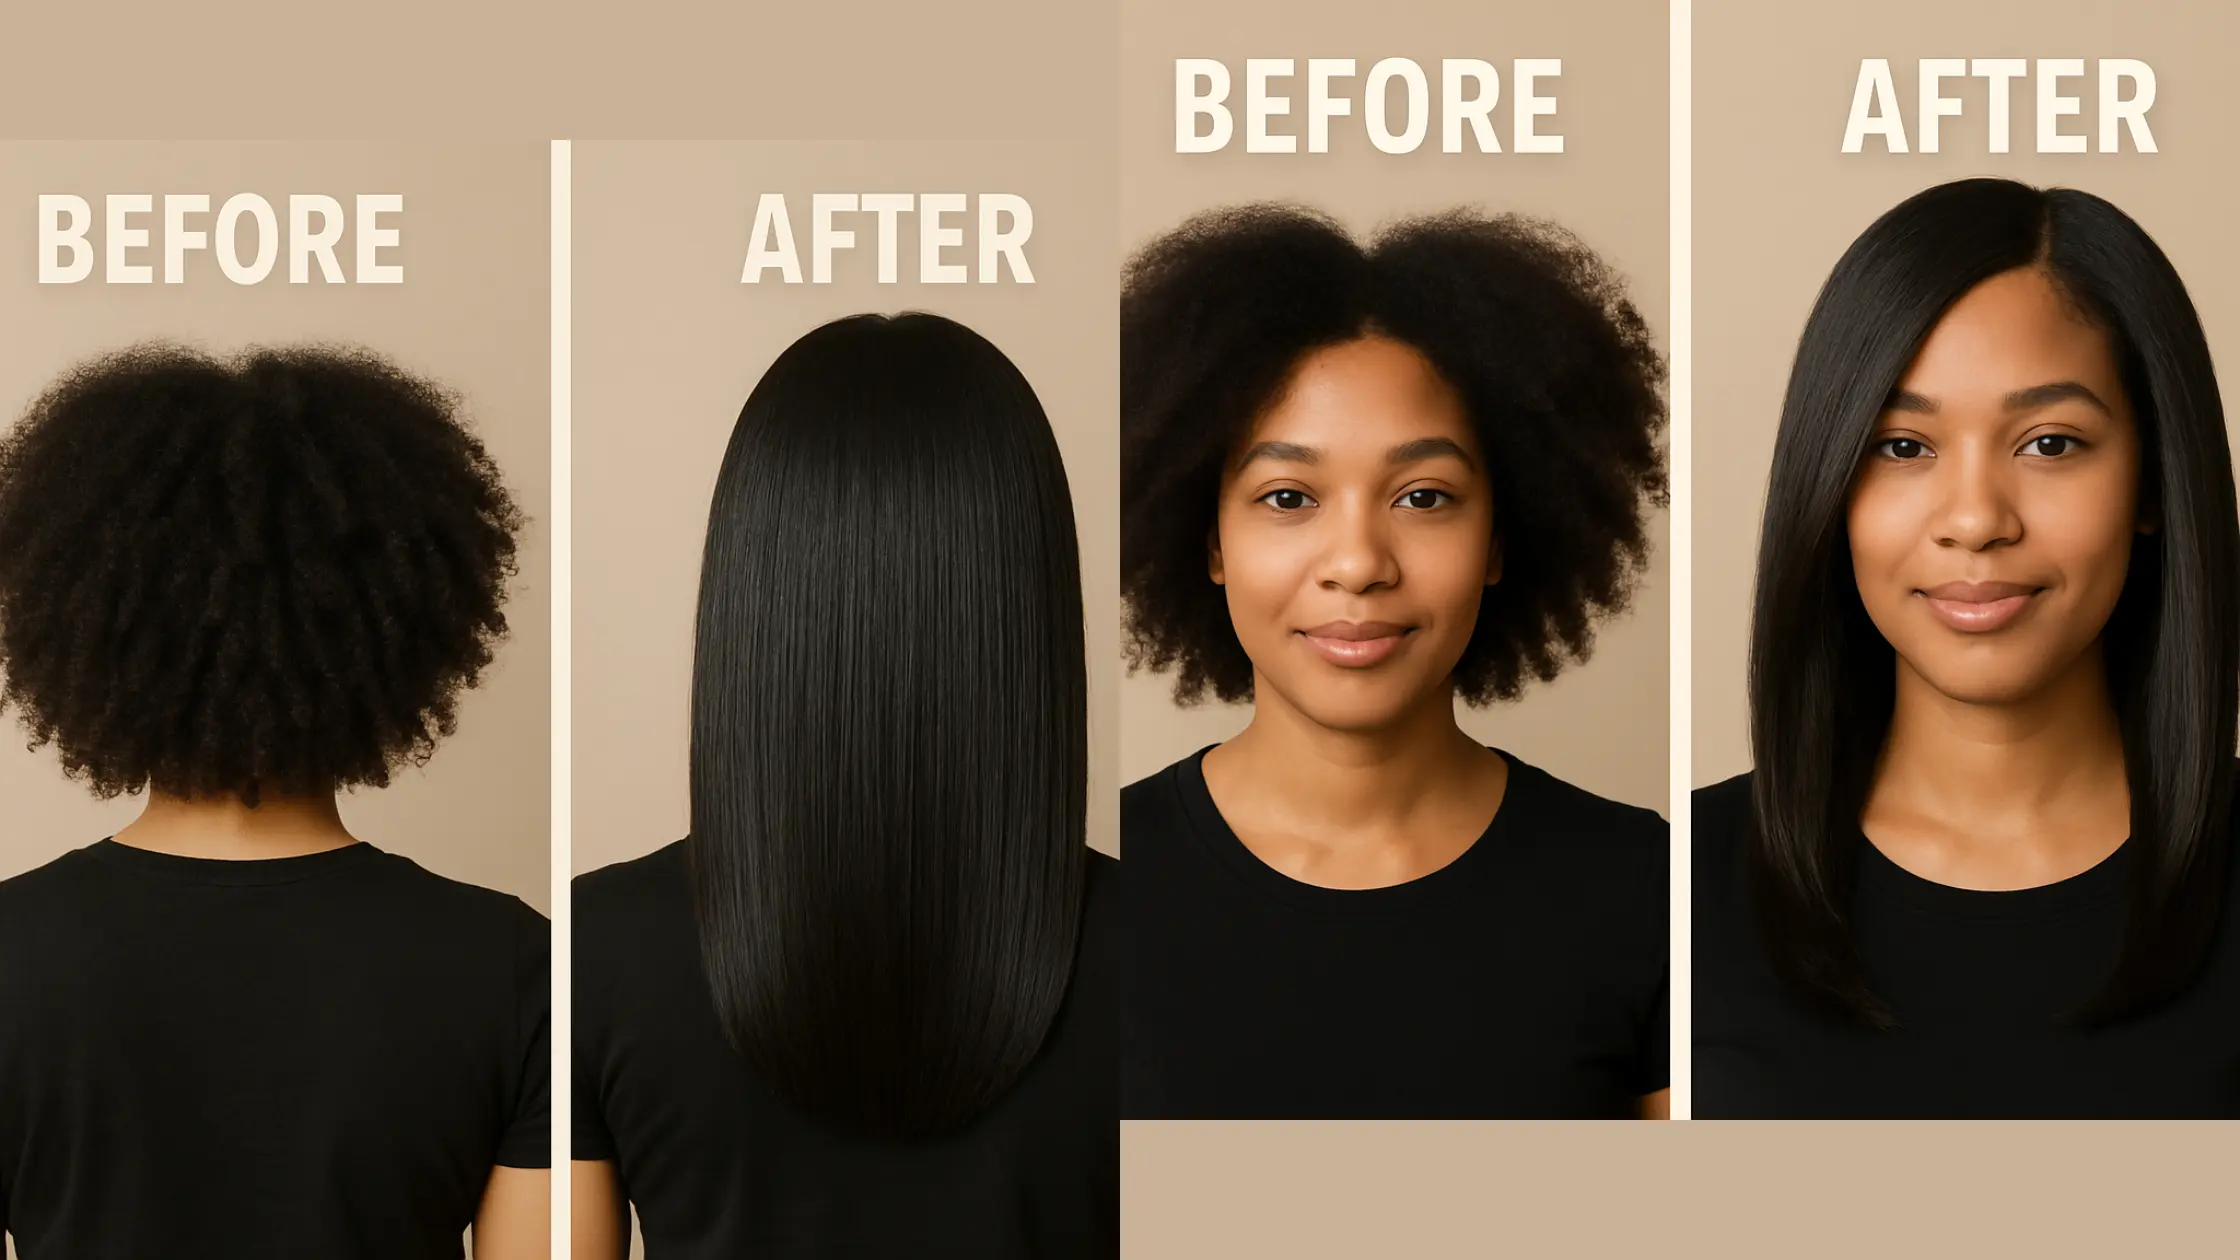
Before & After Images Of My Hair After Silk Press
The final result? Silky, smooth, movement-filled hair that I couldn’t stop touching.

How Long Did It Last?
With a satin wrap at night and zero water exposure, my silk press lasted almost 3 weeks. Around the 10-day mark, I needed a little refresh at the roots with my flat iron.
Quick Tips If You’re Trying Silk Press at Home
- Don’t skip heat protectant, ever!
- Steam your hair during deep conditioning
- Flat iron in small sections (seriously)
- Avoid water-based styling products afterward
- Use satin/silk scarves or pillowcases at night
Would I Do It Again?
100% yes. Not only did I save money, but I learned what my hair loves. The bounce, the shine, the compliments? Totally worth the effort.
Have you ever tried a Silk Press at home? Tag me in your pics or leave a comment below — I’d love to see your transformation.